

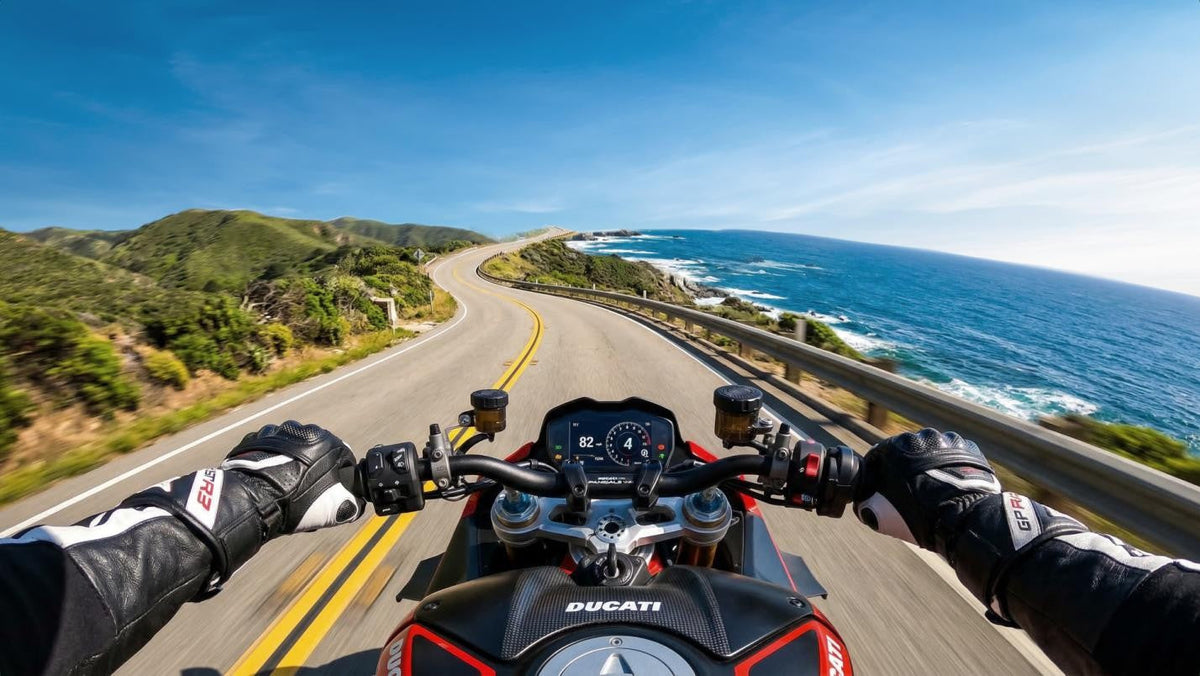
A practical beginner workflow using Xtra 360—from the first shot list to the final social cut.
By Xtra MKT | Updated July 20, 2026
How We Tested and Built This Guide
This guide was written by the Xtra 360 brand team based on confirmed production features and brand materials, with all visuals sourced from the official asset library. It is brand guidance, not an independent review—results vary by motorcycle, mount, and conditions, so we recommend a short test ride before a full shoot.
Start With the Story, Not the Gear
Your first motovlog does not need five cameras, a complex script, or an hour of continuous footage. It needs a simple story, a secure camera setup, and enough useful clips to build a beginning, middle, and end.
A 360 camera such as Xtra 360 can make this easier because it records the scene around the motorcycle. Instead of committing to one final direction while riding, you can select the road, rider, motorcycle, or scenery during editing. That flexibility is useful when the strongest moment rarely happens exactly where a fixed camera is pointing.
What Should Beginners Look for in a Motovlogging Camera?
A beginner-friendly camera should reduce decisions during the ride. Focus on capabilities that help you capture a usable story without repeatedly stopping or recreating the same section of road.
Flexible Framing
Traditional POV footage records only the direction the lens is facing. A 360 camera records the surrounding scene, giving you more freedom to reframe later. Higher-resolution capture matters because reframing selects part of the original 360 image. Xtra 360 supports 8K video capture and 100MP photos, providing more source detail for editing and still-image extraction.
Stable Footage and Secure Mounting
Motorcycles produce continuous vibration, especially on uneven roads. Stabilization helps make footage easier to watch, but it cannot compensate for an unstable or incorrectly installed mount. Always use motorcycle-compatible hardware, tighten every connection, and perform a short low-speed test before the full ride.
Simple Controls
Gloves, traffic, and changing road conditions make complicated controls a distraction. Xtra 360 supports one-tap recording and uses a magnetic quick-release base, helping riders start a new chapter and remove the camera at a stop without working through a long menu.
A Realistic Low-Light Option
Night riding is difficult for any compact action camera. Xtra 360 uses dual 1/1.1-inch sensors and provides an 8K/30fps low-light recording option. Test it on the actual route because street lighting can change dramatically between intersections, highways, and rural roads.
Storage and Battery Planning
Xtra 360 includes 105GB of storage and supports microSD expansion. Its battery supports up to 180 minutes of recording, depending on recording conditions and settings. For a longer trip, divide the ride into chapters and carry an Action-compatible spare battery instead of assuming one battery will cover every situation.

Xtra 360 includes 105GB of built-in storage and supports microSD expansion.
Choose One Story for Your First Motovlog
A motovlog becomes easier to film when it answers one clear question. Start with a narrow idea rather than trying to document everything that happens.
- What is this road like to ride?
- What did I learn from my first highway trip?
- Is this motorcycle comfortable on a weekend route?
- What happened during a rainy commute?
- What should a new rider know about this destination?
Use a basic three-part structure:
- Before the ride: introduce the route, goal, or question.
- During the ride: capture two or three moments that move the story forward.
- After the ride: give your conclusion while the experience is still fresh.
This structure prevents the common beginner problem of returning with an hour of footage but no clear video.
Build a Simple Xtra 360 Motovlogging Setup
For this workflow, keep the kit focused on safe mounting, lens protection, storage, and a practical battery plan.
- Xtra 360
- A compatible motorcycle or helmet mount
- Magnetic quick-release base
- Lens protector and lens cloth
- Compatible microSD card
- Action-compatible spare battery for longer rides
- An audio method tested at actual riding speed
Where Should You Mount a 360 Camera for Motovlogging?
| Camera position | Visual result | Best use |
|---|---|---|
| Front motorcycle mount | Road-focused view with surrounding traffic | Route introductions and forward motion |
| Handlebar or tank area | Motorcycle controls plus road context | Rider interaction and cockpit scenes |
| Helmet mount | Natural rider POV | Technical sections and looking through turns |
| Rear or side mount | Rider, motorcycle, and background | Scenic sequences and transitions |
Mount selection depends on the motorcycle, accessory, local rules, and the shot you want. The camera must not obstruct controls, lights, visibility, protective equipment, or the license plate.
For a detailed comparison, see our motorcycle 360 camera mounting and settings guide.
Use a Motovlog Shot List
A short shot list creates visual variety without leaving the camera running continuously.
| Story section | Suggested shot | Clip length |
|---|---|---|
| Opening | Motorcycle, location, and route introduction | 10–20 sec |
| Preparation | Gloves, helmet, camera, and start-up | 5–10 sec each |
| Departure | Pulling away from the starting point | 10–20 sec |
| Main ride | Road, rider reaction, and scenery | 20–60 sec |
| Key moment | Turn, viewpoint, traffic, or weather change | As needed |
| Arrival | Parking and destination reveal | 10–20 sec |
| Conclusion | What you learned or would change | 20–40 sec |
With a 360 camera, one well-positioned clip can provide several edited views. That reduces the need to repeat the same section of road simply to capture another angle.
Record the Ride in Chapters
Before leaving, clean both lenses, install the lens protector, confirm storage space, check the battery, and record a short test clip. Inspect it for vibration, lens marks, and unwanted parts of the mount.
During the ride, record only the chapters the story needs:
- Leaving the starting point
- Entering the main route
- Reaching an important road or landmark
- Encountering a change in weather or traffic
- Arriving at the destination
Xtra 360's one-tap recording supports this stop-and-start workflow. Shorter clips are easier to find during editing and help conserve battery and storage.
Best Xtra 360 Settings for a Beginner Motovlog
Use these as starting points, then run a short test under the actual riding conditions.
| Riding situation | Starting choice | Why |
|---|---|---|
| Daytime reframing | 8K capture | Keeps more source detail for choosing the final view |
| Night or low light | 8K/30fps low-light option | Provides a practical starting point for difficult lighting |
| Planned color grade | 10-bit D-Log M | Adds flexibility for an established grading workflow |
| Long route | Chapters; 105GB plus microSD as needed | Avoids unnecessary continuous footage |
| Uneven road | Stabilization plus a verified mount | Reduces distracting motion without relying on software alone |
Plan for Wind Noise and Narration
A motorcycle creates turbulence around the helmet, windshield, and camera mount. Before relying on live commentary, test the audio method at the speeds you expect to ride. If speech is unclear, use the riding footage as the visual track and record narration afterward. Voice-over often produces a clearer first motovlog because you can explain the route and your observations without competing with wind noise.
How to Edit Xtra 360 Motovlog Footage
Build the story before adding effects.
- Import and organize clips by route section.
- Remove accidental starts, stops, and long uneventful sections.
- Choose the strongest viewpoint for each moment.
- Alternate between the road, rider, motorcycle, and scenery only when it supports the story.
- Add narration where viewers need context.
- Color-correct consistently, especially when using 10-bit D-Log M.
- Export the full video before creating shorter social versions.
Avoid changing the viewpoint every few seconds simply because you can. Reframing should help viewers understand the ride, not constantly remind them that it was recorded with a 360 camera.

Why Xtra 360 Fits This Beginner Workflow
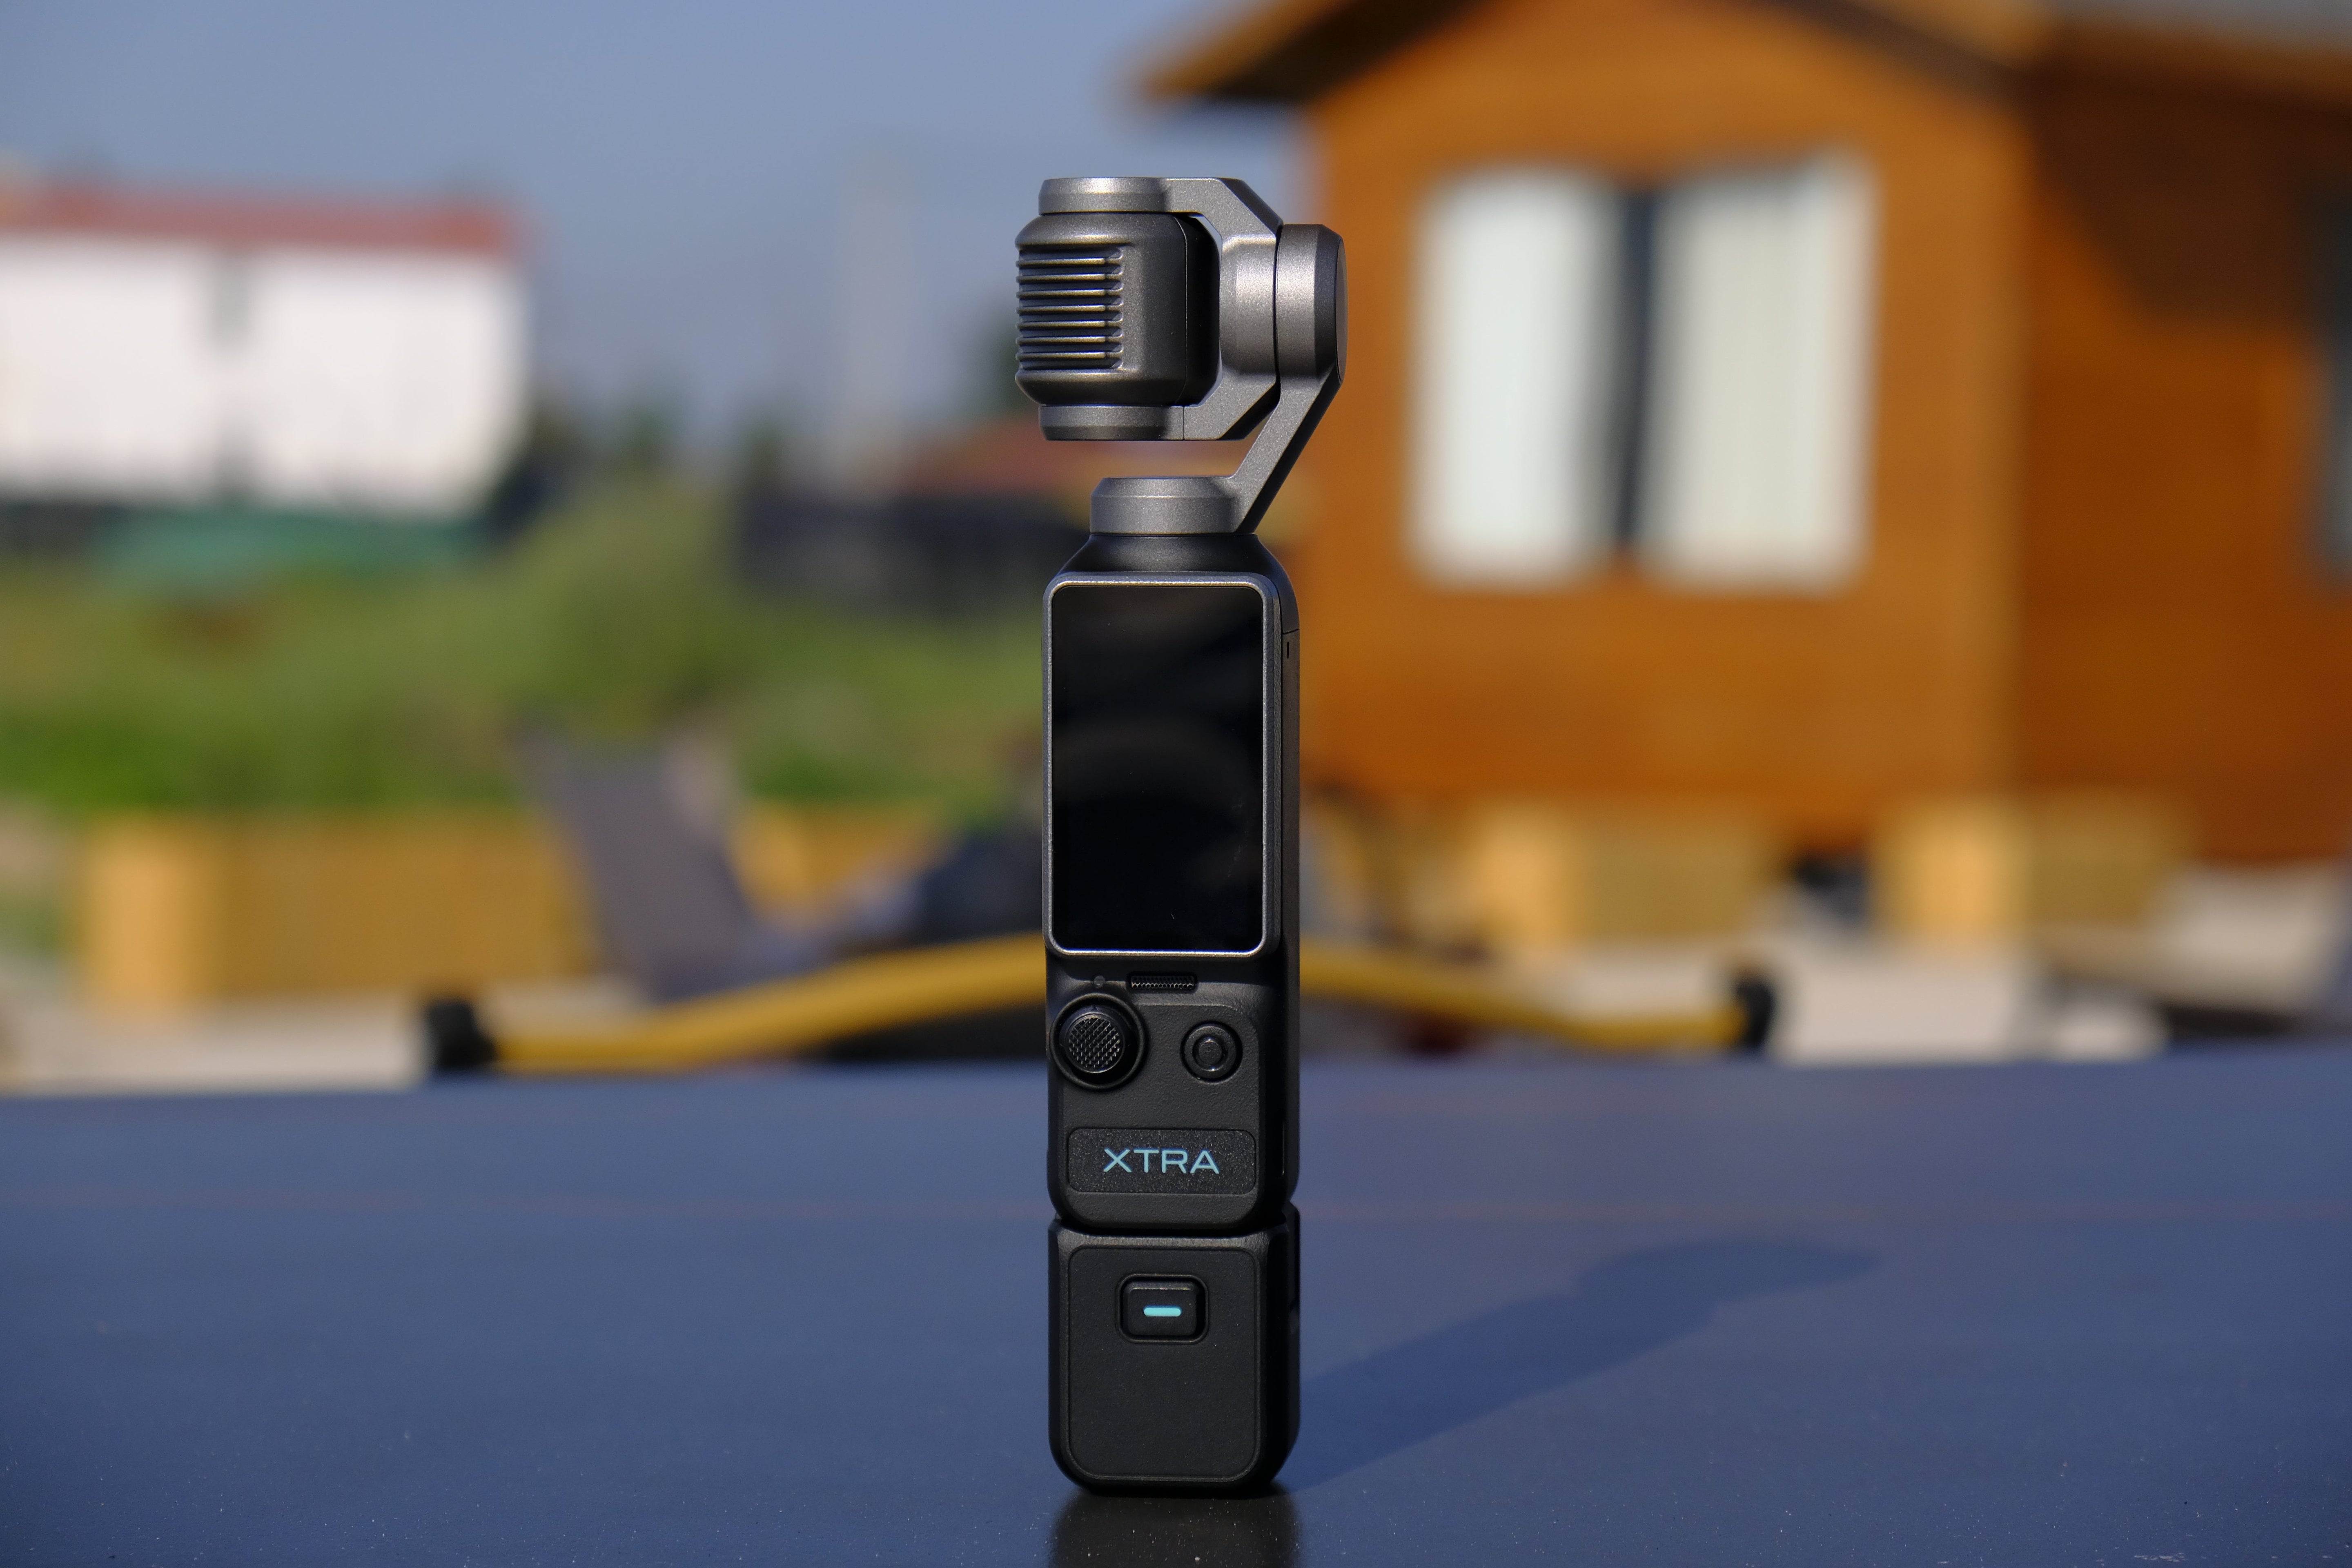
Xtra 360 works best here as a flexible production tool rather than another item to manage during the ride. Its 8K 360 capture lets you choose the final viewpoint after recording, while stabilization helps keep motorcycle footage watchable. One-tap recording and the magnetic quick-release base support a chapter-based workflow in which the rider records only the parts needed for the story.
For changing light, the dual 1/1.1-inch sensors and 8K/30fps low-light option provide a practical night-recording choice. The combination of 105GB built-in storage, microSD support, up to 180 minutes of recording, and Action-compatible battery support also makes it easier to plan longer sessions realistically.
These capabilities do not replace route planning, secure mounting, or careful editing. They reduce the number of framing decisions a beginner has to make while riding.
Turn One Ride Into Multiple Social Posts
One completed motovlog can produce several pieces of content:
- A full YouTube or Facebook ride story
- A vertical Instagram Reel showing the strongest moment
- A short route preview
- A motorcycle-mounted POV clip
- A day-versus-night example
- A still image selected from a 100MP photo
- A short “what I learned” post
Choose clips based on the idea of each post instead of uploading the same edit to every platform.
Frequently Asked Questions
What equipment does a beginner need for motovlogging?
Start with one camera, a secure compatible mount, lens protection, sufficient storage, and a realistic battery plan. For this workflow, Xtra 360 can serve as the main riding camera. Add an audio solution only after testing it at actual riding speeds, since wind conditions vary between motorcycles and mounting positions.
Where should I mount Xtra 360 on a motorcycle?
A front motorcycle mount emphasizes the road, while a handlebar or tank-area position adds cockpit context. A helmet mount creates a natural POV, and a rear or side position can include more of the rider. Use compatible hardware, perform a low-speed test, and confirm that the camera does not obstruct controls or visibility.
What Xtra 360 setting should I use during the day?
Use 8K capture when you want more source detail for reframing the road, rider, or surrounding scenery during editing. Turn on stabilization and record a short test before the full ride. Check for vibration, dirty lenses, and visible mounting hardware because resolution alone cannot correct an unstable or poorly positioned camera.
What setting should I use for an Xtra 360 night motovlog?
Begin with the 8K/30fps low-light option and test it on the actual route. Street lighting can change significantly between intersections, highways, and rural roads. Keep the mount stable, clean both lenses, and review a sample before continuing. Publish original footage from the stated conditions when making performance claims.
How much storage and battery do I need for one ride?
Xtra 360 includes 105GB of storage and supports microSD expansion. Its battery supports up to 180 minutes of recording, depending on settings and conditions. For longer routes, record in chapters, check remaining capacity at stops, and carry an Action-compatible spare battery when the planned session may exceed the available runtime.
How can I reduce wind noise in a motorcycle vlog?
Test your audio method at the speed and mounting position you expect to use. Wind around a helmet or windshield can sound very different at low and high speeds. If the result is unclear, keep the Xtra 360 footage and record narration afterward. Voice-over is often cleaner and easier for a first motovlog.
How do I edit Xtra 360 footage into a standard video?
Organize clips by route section, remove uneventful footage, and select the strongest viewpoint for each story moment. Use the road view for navigation, the rider view for reactions, and wider framing for scenery. Keep viewpoint changes intentional. If you recorded in 10-bit D-Log M, include color grading in the workflow.
Start Your First Motovlog With a Simple Story
The best first motovlog is not the one with the most footage. It is the one viewers can follow from departure to destination.
If you want to record the road, motorcycle, rider, and surrounding scene without deciding every final angle before the ride, explore Xtra 360.
Xtra 360 is our own camera. This guide is intended to provide an honest, practical look at how it fits a beginner motovlogging workflow.


Leave a comment
This site is protected by hCaptcha and the hCaptcha Privacy Policy and Terms of Service apply.