

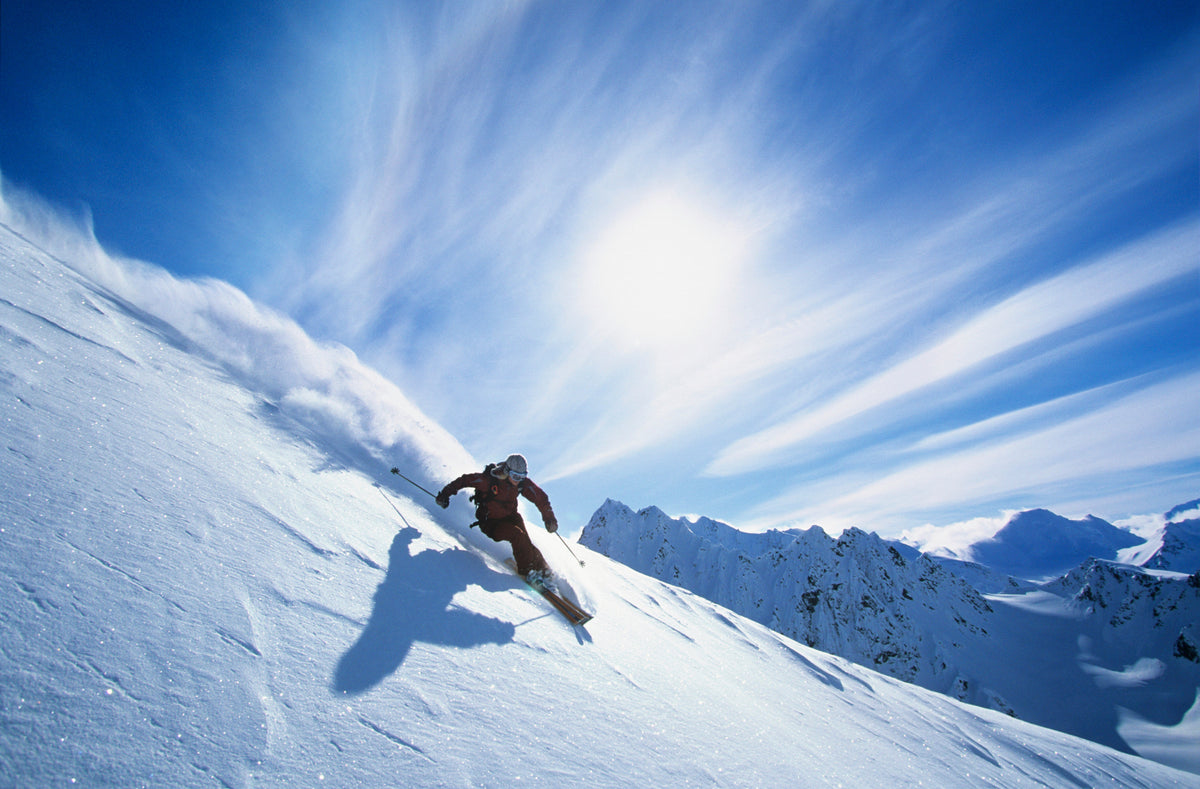
The best 360 action camera for skiing and snowboarding should keep useful footage coming when the light changes, your hands are in gloves, and the camera is moving with you. Look for reliable stabilization, a practical cold-weather power plan, protected lenses, and a mount that leaves you free to ride.
A 360 camera is especially useful when you want both the rider and the mountain in the same recording. This guide explains what to compare before buying, how mounting changes the result, and where XTRA 360 fits.
Decide whether you need the whole scene
Choose 360 capture if you want to switch between your turns, a friend behind you, and the view ahead after recording. That flexibility can help when a run is worth filming but the most interesting angle is hard to predict.
There is still work after the run: importing the recording, checking stitching, choosing the view, and exporting. If your priority is a straightforward forward-facing POV with minimal reframing, a conventional action camera may fit better.
For a 360 camera for snowboarding, consider how your sideways stance places your arms and torso near the lenses. Skiers should think about pole movement and whether a handheld camera interferes with normal technique. A mount needs to work with how you move.
Judge the final view rather than the 8K label
An 8K panoramic recording spreads its pixels around the entire scene. A narrow view of one rider uses only part of that image, so selecting a high export resolution does not recreate detail that was never captured.
Compare footage at the framing you actually want: a wide view of your body and the slope, or a tighter view of someone skiing ahead. Our 8K 360 resolution guide explains how reframing changes the result.
Also separate frame rate from sharpness. More frames can help represent fast movement or provide slow-motion options, but light, shutter speed, stitching, and the final crop still affect the picture. Avoid choosing a camera from a single maximum-resolution number.
Look for stable footage with usable snow detail
Stabilization and horizon leveling help make turns easier to watch. They cannot remove snow from a lens, correct a loose mount, or fully undo motion blur. When reviewing sample footage, look at the rider, distant trees, and the join between the two lens views.
Bright snow can fool an exposure meter into making the scene look dull. Begin with automatic exposure, inspect a short clip, and adjust exposure compensation only if needed. Increase it cautiously when snow looks gray; reduce it if bright areas lose their texture. This follows the metering principle explained in Canon’s exposure compensation guide.
In shaded trees or late-afternoon light, check moving edges for smearing before committing to the same settings used in sunshine. There is no single shutter or ISO setting that works for every run. A brief test in the actual light is more useful than a universal preset.
Plan battery use around a day on the mountain
Check the manufacturer’s operating and charging temperature ranges separately. A camera that can record below freezing may still need to warm up before charging. A room-temperature battery claim also does not establish how long it will record on a cold lift ride.
Practice starting and stopping a clip with your gloves on. Keep a charged spare protected and dry, and record selected runs instead of assuming one battery will cover an entire day. Review power and free space during breaks, when you can do so without distracting yourself.
Back up footage before clearing the camera. Built-in storage is useful when a card is forgotten, but it is still one copy of the recording. Leave enough room on your phone or computer for source files and exported clips.
Choose a mount that suits your movement
A pole or selfie stick for an outside view
A pole can place the camera far enough away to include your body and the surroundings. Keep it aligned with the camera for the best chance of hiding it at the stitching seam; angled adapters, hands, or bulky hardware may remain visible.
Use the shortest extension that gives the composition you need. Put it away around lifts, queues, and crowded areas, and follow resort rules. Skip handheld filming whenever it compromises your balance or control.
A helmet mount for a view that follows your head
Check that the helmet manufacturer permits the chosen accessory and installation method. Avoid drilling or modifying the shell, and do not assume a tall extension is appropriate. Test visibility and clearance before riding; helmet-mounted footage also follows every head turn.
A chest mount for a compact setup
A chest position can keep your hands free, but your body may block much of the rear view. Inspect both lenses’ coverage before deciding whether panoramic capture adds value in that position. A single-lens mode may suit the shot better.
Set up while stopped in a visible place away from traffic. The NSAA Responsibility Code emphasizes staying in control and avoiding stops where you obstruct others or cannot be seen. Recording should fit around those responsibilities.
Protect both lenses and check for fogging
Two exposed lenses mean two surfaces to inspect. Snowflakes, fingerprints, or moisture can affect a wide portion of the recording. Use a cap during transport, clean with suitable lens materials, and check again after a fall or a change in conditions.
A replaceable lens guard and a replaceable optical lens are different things. Check what the manufacturer actually allows you to replace, plus any restrictions on using guards in wet or snowy weather. A guard can introduce glare or fogging even when the camera body is protected.
XTRA 360 brand illustration showing a removable lens guard. A guard is separate from the camera’s optical lens.
Where XTRA 360 fits
XTRA 360 is an XTRA product. This guide uses manufacturer documentation and practical selection criteria; it does not report independent ski testing.
XTRA lists up to 8K/50fps panoramic recording and 360 Lock stabilization in its official specifications. Its store listing also identifies approximately 105GB of usable internal storage and replaceable lens guards. These features make it worth considering for riders who want to choose their perspective after recording.
Before buying for winter use, confirm the temperature limits for the exact camera and battery. You should also check the current XTRA software on your editing device. Allow time for reframing and exporting; do not assume the app will turn every run into a finished video automatically.
Choose the setup you will use on every trip
Prioritize a secure, unobtrusive mount, lens care, enough power, and an editing process you can finish. Try one short run and inspect the exported result before filming a full day. For sharing afterward, follow our guide to making horizontal and vertical edits from one 360 recording.
If panoramic capture and onboard storage suit your ski trips, explore XTRA 360 and its current kit options, then check which winter accessories your chosen setup still needs.

Leave a comment
This site is protected by hCaptcha and the hCaptcha Privacy Policy and Terms of Service apply.