

Learning how to use a 360 camera becomes easier when you treat recording and framing as two separate jobs. During the shoot, you capture the full scene. During editing, you choose where the viewer looks and export a standard horizontal, vertical, or interactive 360 video.
This guide takes you through one complete first-shoot workflow. It covers camera preparation, placement, stitching, file backup, reframing, and export without repeating a platform-specific editing tutorial.
Step One Choose the Final Format
Decide where the video will be watched before you press record. The answer changes how you position the camera and how you reframe later.
- Use 16:9 for a standard YouTube video or widescreen project.
- Use 9:16 for Reels, Shorts, or another vertical feed.
- Keep an equirectangular 360 export when the viewer should be able to look around interactively.
- Capture a panoramic photo when the goal is a navigable still, virtual-tour view, or high-resolution crop.
A single 360 master can support more than one output, but each version still needs its own framing, pacing, text placement, and export check.
Step Two Prepare Both Lenses and the Storage
Clean both fisheye lenses with a proper lens cloth. A fingerprint, salt mark, or water spot can appear across every later viewpoint. Inspect the lens protectors as well because scratches and flare become more visible in strong side light.
Charge the battery, confirm available storage, and set the correct date and time. Record a five-second clip and play it back before leaving. This simple test catches a full card, dirty lens, loose mount, or wrong mode while it is still easy to fix.
Step Three Choose Panoramic or Single Lens Recording
Use panoramic 360 mode when you want to choose the direction after recording. This is the normal choice for invisible-selfie-stick views, group scenes, travel walks, cycling, and any moment in which the action may move around the camera.
Use single-lens mode when you already know the viewing direction and want the camera to behave more like a traditional wide-angle action camera. Single-lens footage does not provide the same all-around reframing freedom.
Do not compare the resolution numbers without checking the mode. A high-frame-rate single-lens setting is not the same as a 360 recording setting.
Step Four Place the Camera for Clean Stitching
A 360 camera combines views from two fisheye lenses. The meeting area between them is the stitch line. Objects that are very close to that line can look split, stretched, or different from one side to the other.
For XTRA 360, keep the main subject at least 0.7 meters from the camera when possible. Avoid placing a face, hand, helmet edge, or thick mount directly across the stitch line. Hold a straight selfie stick in line with the camera body so it sits in the area the stitching process can hide more effectively.
The camera should be level unless a deliberate angle serves the shot. Give the lenses an open view and check that fingers, straps, or mounting hardware do not block either side.
Step Five Record a Short Test From the Real Position
Put the camera in the position you plan to use, move at the intended speed, and review the result on the actual editing device.
Check five things.
- The main subject stays a safe distance from the stitch line.
- The horizon remains comfortable to watch.
- The mount stays secure and does not vibrate excessively.
- Exposure holds important highlight and shadow detail.
- The editor can import and preview the file.
For helmets, bicycles, motorcycles, vehicles, or elevated mounts, use compatible hardware and follow local rules. A camera must not obstruct controls, visibility, lights, safety equipment, or the license plate.
Step Six Capture Clips With Editing Handles
Record two or three seconds before and after the action. These handles make a cut easier.
Move the camera smoothly. Rapid rotation can create more work during reframing and make the viewer uncomfortable. Let the action move through the scene rather than constantly pointing the camera like a conventional phone.
Record in chapters instead of leaving the camera on for an entire outing. Shorter clips are easier to organize, transfer, and reframe.
Step Seven Copy and Protect the Original Files
After the shoot, copy the original camera files to a named project folder. Keep the spherical master even after you create a flat export. A finished 16:9 video cannot recover the directions that were cropped away. Organize the copy with three folders.
- Originals for untouched camera files
- Project files for the editor and reframing data
- Exports for completed 16:9, 9:16, or interactive 360 files
Make a second verified copy before deleting files from the camera. Confirm free space before a long transfer.
Step Eight Reframe the Story
Open the original 360 clip in a compatible editor. Set the final canvas, then choose the starting viewpoint. Place a keyframe only when the viewer needs to look somewhere else.
Follow the subject with the fewest moves that make the action clear. Constant spins and zooms can distract from the story. Use a wider field of view to establish the location, a closer reframed view for a person or detail, and a smooth change between them.
Stabilization and horizon controls can improve the result, but they cannot correct a loose mount, blocked lens, or subject placed too close to the camera. Review the stitch area throughout the movement, especially when people pass near the camera.
Step Nine Export and Watch the File Again
Export for the final platform rather than relying on a generic preset. Confirm aspect ratio, resolution, frame rate, audio, and color. If you recorded a log profile, complete the intended color conversion or grade before delivery.
Watch the exported file full-screen from beginning to end. Look for sudden viewpoint changes, visible stitch errors, captions outside the safe area, incorrect horizon, missing audio, or a lower resolution than expected.
For a detailed workflow that turns one master into separate YouTube, Reels, and Shorts edits, use the multi-platform 360 editing guide.
How XTRA 360 Fits This Workflow
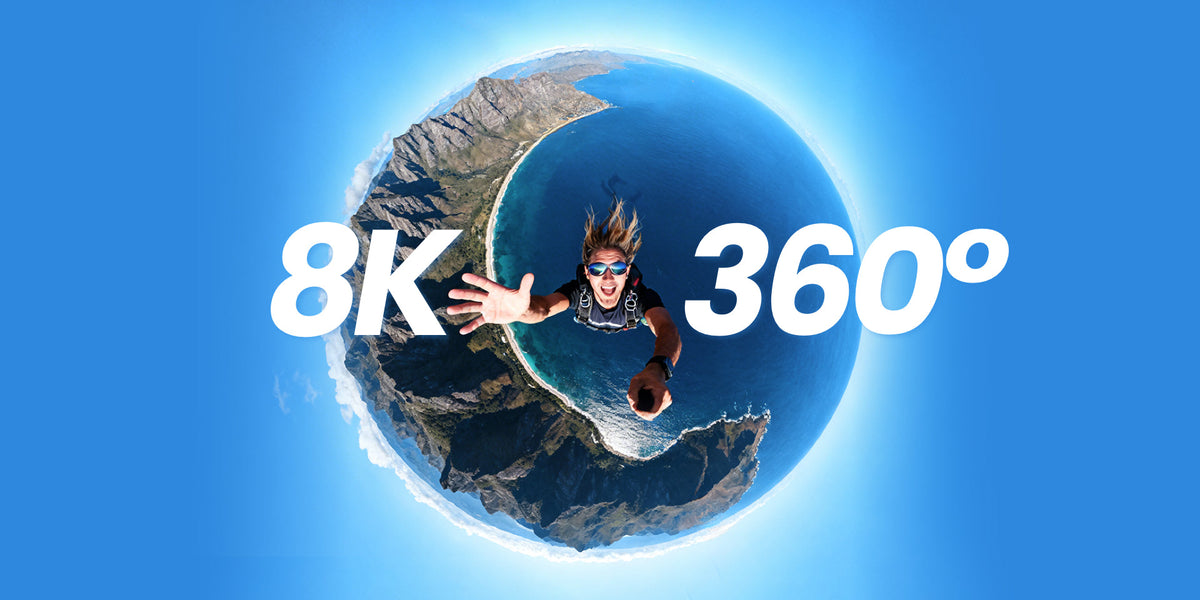
XTRA 360 records 8K 360 video and includes 105GB of usable built-in storage plus microSD expansion. The built-in capacity supports a first shoot without relying on one removable card, while expansion can support longer sessions. The camera also has a 1/4-inch thread and magnetic quick-release base for compatible mounting setups.
Xtra 360 is an XTRA product. This article uses manufacturer specifications and current store listings and does not present an independent laboratory test.
The 8K master provides more source detail for reframing, but a reframed flat video uses only part of the spherical image. Final quality depends on field of view, crop, export settings, lighting, and the editing workflow. Test a short original file before recording an important event.
Common First Shoot Mistakes
- Recording in single-lens mode when the plan requires 360 reframing
- Placing the subject too close to the camera or directly on the stitch line
- Touching one lens while cleaning or mounting the camera
- Deleting the spherical master after the first export
- Adding too many keyframes because every direction is available
- Exporting a horizontal video and then cropping that finished file for vertical use
- Assuming stabilization can fix a loose or unsafe mount
Frequently Asked Questions
Can I watch 360 footage as a normal video?
Yes. Import the spherical master into a compatible editor, choose a standard canvas such as 16:9 or 9:16, reframe the viewpoints, and export a flat video. Keep the original master for future edits.
Why does the selfie stick disappear?
The stick becomes less visible when it is narrow, straight, and aligned with the camera body in the stitch area. The effect depends on placement and stitching. A hand, wide handle, shadow, or angled extension may remain visible.
How far should a person stand from XTRA 360?
Keep the main subject at least 0.7 meters from XTRA 360 when possible. Very close objects are more likely to cross the stitch line and show visible differences between the two lenses.
Should I export horizontal or vertical video first?
Start with the format that serves the main story. Create each additional version from the original spherical master, not from a finished horizontal or vertical export.
Complete One Short Project First
The fastest way to learn a 360 camera is to finish one small video. Record three short clips, protect the originals, reframe one clear story, and export it in the format you actually use.
To review XTRA 360 recording features, storage, mounting options, and current kits, visit the official XTRA 360 product page.



Leave a comment
This site is protected by hCaptcha and the hCaptcha Privacy Policy and Terms of Service apply.