

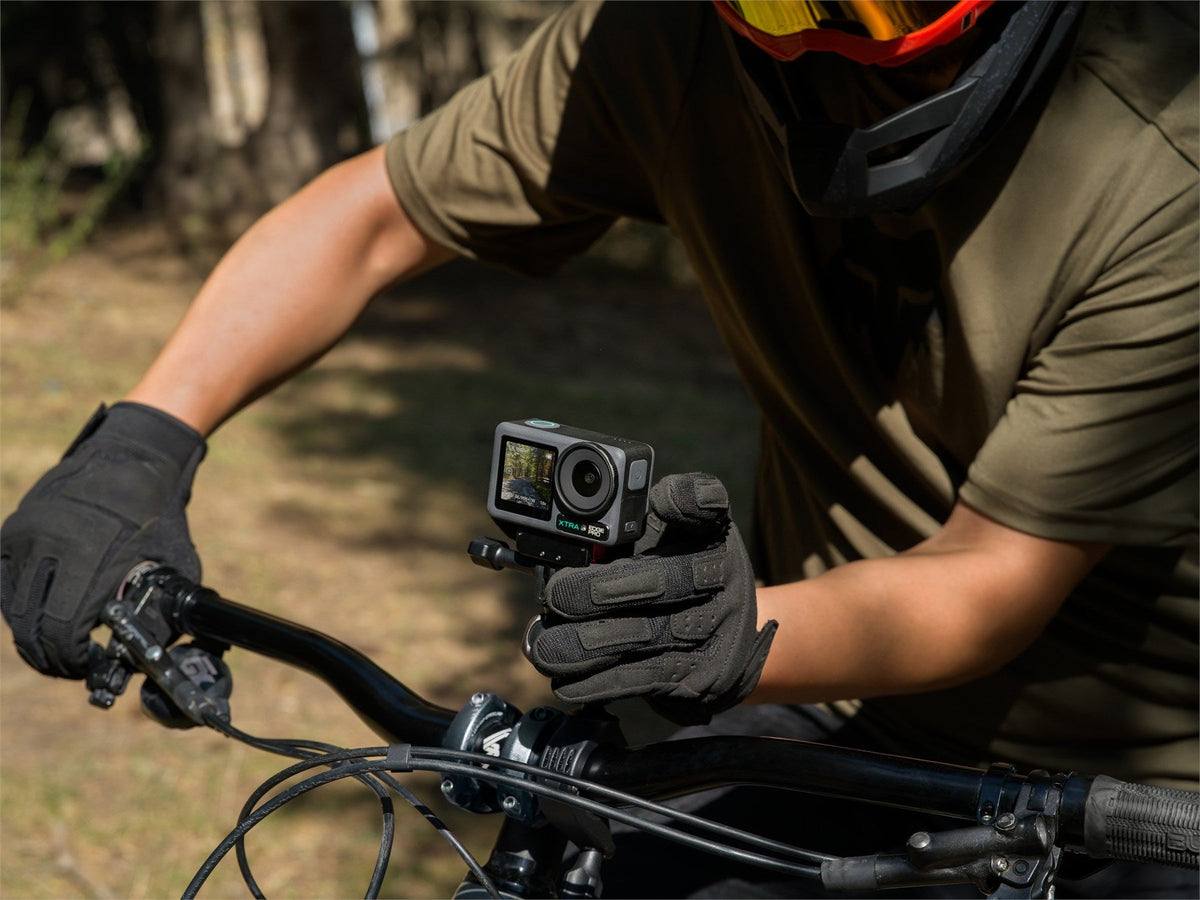
The best action camera for motorcycle riding is the one that stays secure, keeps the road readable, and records usable sound at speed. Resolution matters, but mount position, vibration, wind, power, and storage usually decide whether a ride becomes a watchable video.
This guide focuses on a conventional forward-facing action camera. It explains how to choose a mount, set up audio, select a recording mode, and test the complete system before a longer ride.
Start With the View You Want
Choose the finished viewpoint before buying mounts. A motorcycle helmet camera gives a rider's-eye perspective. A chest mount shows the controls and body movement. A handlebar mount places the motorcycle and road in the same frame. Each position also creates a different vibration and safety problem.
Helmet Mount
A helmet mount follows the rider's head, so viewers see shoulder checks, corners, and changing traffic. It works well for point-of-view rides and spoken route commentary.
Keep the camera compact and close to the helmet. A long extension increases leverage, catches more wind, and can make vibration worse. The mount must not block the visor, vents, or field of view. Check local laws and the helmet manufacturer's guidance before attaching anything to a helmet.
Chest Mount
A chest mount usually produces a lower, more stable perspective. It can show the handlebars and rider input without placing extra weight on the helmet.
The tradeoff is obstruction. A tall fuel tank, jacket, backpack strap, or tucked riding position can fill too much of the frame. Sit on the motorcycle in normal gear and record a short sample before the trip.
Handlebar or Motorcycle Mount
A rigid motorcycle mount creates a consistent forward view and can include the instrument area or front of the bike. It also receives engine and road vibration directly.
Mount to a solid point that does not interfere with steering, cables, switches, suspension travel, or visibility. Avoid thin plastic panels and flexible extensions. Use a compatible tether as secondary retention, then turn the bars fully in both directions before riding.
Control Vibration Before Increasing Stabilization
Electronic stabilization can smooth small movements, but it cannot rescue a loose clamp or a mount that flexes over every bump. Start with the mechanical setup.
Use this test:
1. Tighten every connection according to the mount manufacturer's instructions.
2. Record while the motorcycle idles, then at low speed on a safe route.
3. Review road signs, lane markings, mirrors, and the horizon at normal speed.
4. Pause several frames to distinguish camera shake from motion blur.
5. Change one variable at a time, such as mount position, extension length, or stabilization mode.
If the whole frame vibrates rapidly, improve the mount first. If the frame is steady but moving details smear, the exposure may be too long for the available light and speed.
Choose a Recording Mode for the Route
For most daytime rides, 4K at 30 frames per second is a practical starting point. It preserves detail while keeping storage and processing demands reasonable.
Use 60 frames per second when the route has fast action and enough daylight. The higher frame rate can make motion look clearer and supports moderate slow motion, but each frame has less time to collect light. As daylight fades, 30 fps often gives the camera more exposure flexibility.
Select the stabilization mode after choosing the resolution, frame rate, and aspect ratio. Some horizon-leveling modes restrict those settings. Confirm the exact combination on the camera rather than assuming every feature runs at the highest resolution.
Record a short section that includes smooth pavement, rough pavement, a turn, and a stop. That sample reveals more than a stationary preview.
Record Speech Without Letting Wind Take Over
Wind is the main audio problem on a motorcycle. An internal microphone can capture engine tone and ambient sound, but exposed microphones often receive turbulent air at speed.
For occasional voice notes, stop in a safe place and speak close to the camera. For continuous commentary, use a compatible external microphone and place it inside the helmet away from direct airflow. A foam or furry windscreen may help, but it cannot correct poor placement.
Before recording a full route:
- Confirm that the camera recognizes the microphone and adapter.
- Record speech at idle and at normal riding speed.
- Check for clipping, electrical noise, loose connectors, and fabric rubbing.
- Secure the cable so it cannot catch on the rider, motorcycle, or helmet release.
- Keep important safety sounds audible while riding.
Do not judge motorcycle audio from a quiet room. A setup that sounds clean indoors may become unusable once airflow reaches the helmet.
Plan Storage and Power Around Short Chapters
Long continuous files are harder to review and increase the cost of a failed mount or microphone setup. Record the ride in chapters: departure, a representative road section, a scenic stop, and the return.
Estimate storage from a real clip in the intended mode. File size changes with resolution, frame rate, codec, and scene complexity. Keep the original files until the final export has been checked.
Battery claims also depend on mode, screen use, wireless connections, stabilization, and temperature. Test the camera in the planned configuration. If external power is needed, route the cable without compromising water protection or creating a snag hazard, and follow the manufacturer's heat guidance.
How XTRA Edge Pro Fits Motorcycle Riding
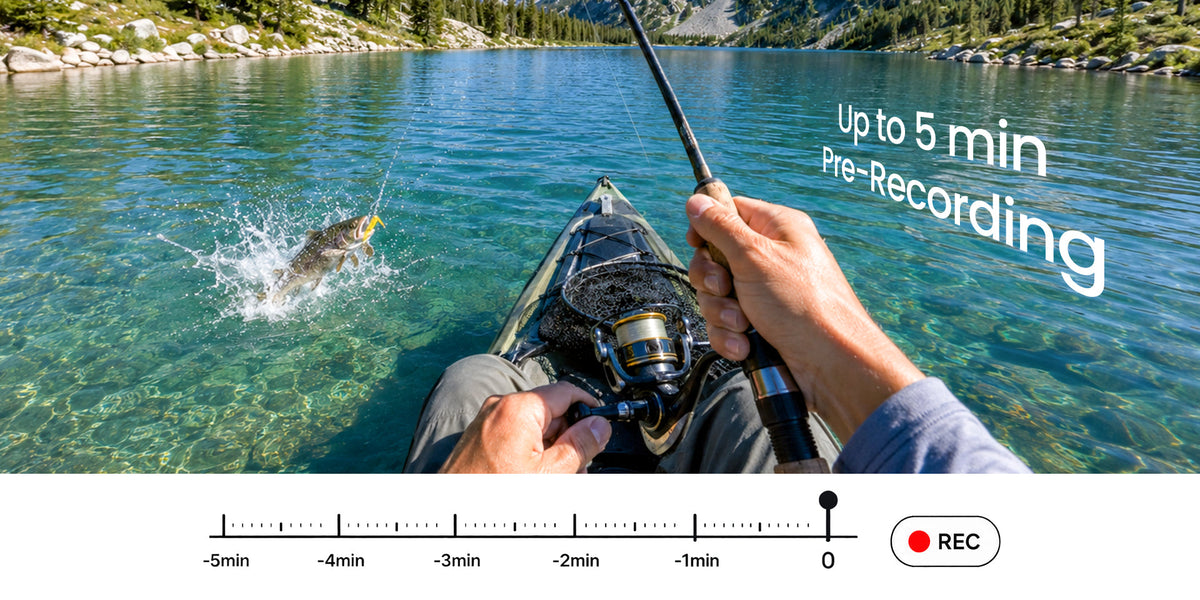
XTRA Edge Pro combines MotionMaster electronic image stabilization with a magnetic quick-mount system. It also provides 45GB of built-in storage, which can keep a ride from ending when a memory card is missing or being transferred. For speech, the camera supports compatible third-party microphones through a 3.5mm-to-USB-C connection; microphone and adapter compatibility should be confirmed before use.
XTRA Edge Pro is an XTRA product. This article uses manufacturer specifications and current store listings and does not present an independent laboratory test.
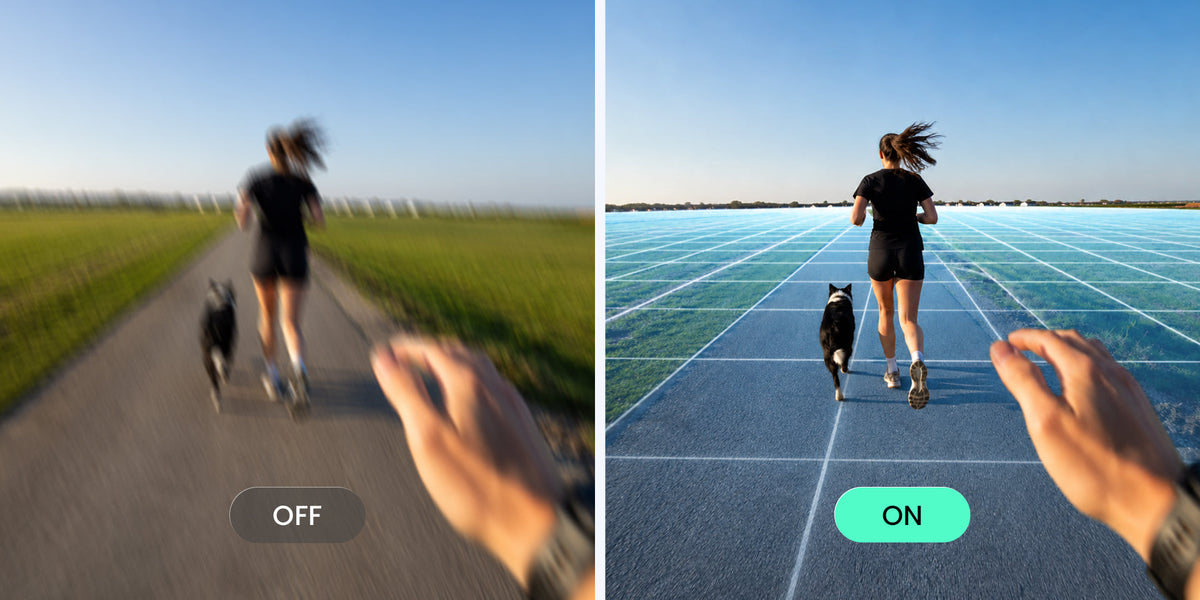
Its horizon controls have mode limits that matter on a motorcycle. TiltGuard supports 1080p, 2.7K, and 4K video at up to 60 fps in 16:9. The stronger 360 Lock option is limited to 1080p and 2.7K at up to 60 fps in 16:9. Choose the finished view first, then select the supported mode that delivers it.
These specifications make Edge Pro relevant for riders who want a direct forward view and a compact mounted setup. They do not prove that one mount or mode will work on every motorcycle. Engine vibration, road surface, riding position, microphone placement, and the exact hardware still need a short route test.
Use a 360 Camera When Direction Is Uncertain
A forward-facing action camera is simplest when the viewing direction is known. A 360 camera can be more useful when the rider wants to reframe the road, rider, and surroundings after the ride.
That flexibility creates a different workflow and larger files. For the distinction, see the 360 camera motorcycle riding guide. Avoid publishing both camera types as universal winners. Choose between direct capture and post-shoot reframing.
Pre-Ride Camera Checklist
Complete the following check while the motorcycle is parked:
1. Clean the lens and inspect the protector.
2. Confirm the battery, available storage, date, time, and recording mode.
3. Lock the camera into the mount and attach secondary retention where appropriate.
4. Turn the handlebars fully and check clearance around controls and cables.
5. Confirm the frame while wearing normal riding gear.
6. Record a short sample with the engine running and the intended microphone connected.
7. Play the file back with sound before leaving.
Never change settings while riding. Stop in a legal, secure location before touching the camera or mount.
Build the Setup Around the Motorcycle
The strongest motorcycle setup begins with a safe mount and a tested viewpoint. Stabilization, resolution, and audio settings improve a sound mechanical setup; they do not replace one.
If XTRA Edge Pro fits your planned mount and recording workflow, review its current specifications and available kit on the official XTRA Edge Pro product page.

Leave a comment
This site is protected by hCaptcha and the hCaptcha Privacy Policy and Terms of Service apply.