

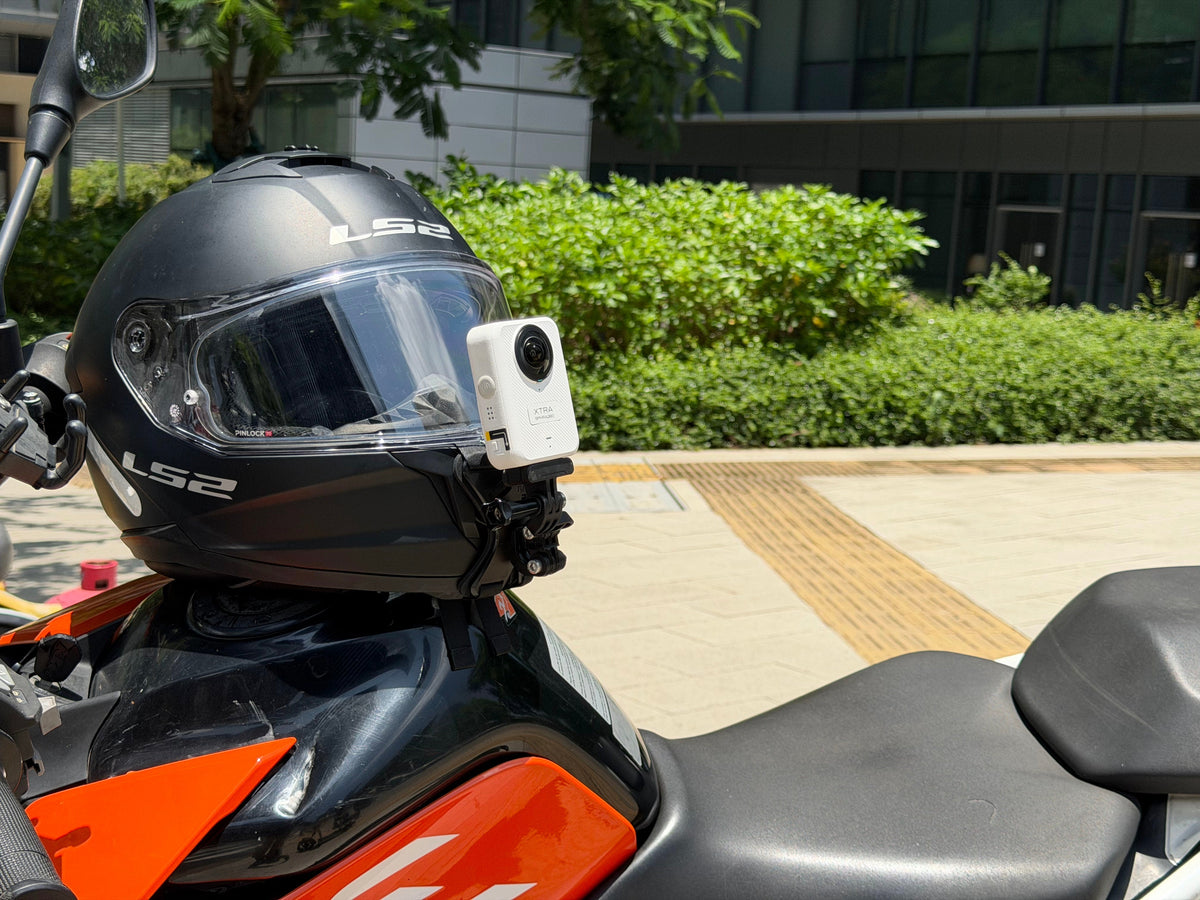
Chin, top, and side positions compared, plus a safer step-by-step setup checklist.
Quick answer: Choose a helmet-specific base that both the helmet maker and mount maker allow. Install it without drilling or cutting the shell, follow the specified surface-prep and cure instructions, then check visor, vent, sightline, and shoulder clearance. Record a stationary test and complete a short low-speed test before a normal ride.
Learning how to mount a 360 camera on a motorcycle helmet is less about finding one universal position and more about matching the mount to your helmet, camera, and shot. A chin position often creates the most natural first-person view, while top and side positions can work better for scenery or a lower profile. This guide focuses on the helmet-specific installation details that decide whether the setup is usable.
If you are still comparing helmet, handlebar, chest, and motorcycle-mounted views, start with our broader motorcycle 360 camera mounting and settings guide.
What You Need for a 360 Camera Helmet Mount
- A compact 360 camera and fully charged battery.
- A helmet-specific adhesive base, strap/chin mount, or other attachment method allowed by the helmet maker.
- A compatible camera interface, such as a magnetic quick-release adapter or 1/4-inch mounting adapter.
- The surface-prep materials specified by the helmet and mount instructions. Do not assume alcohol or another solvent is safe for every shell or finish.
- Lens protection, a clean lens cloth, and the companion app or editor for checking stitching and framing.
If you are budgeting for the camera, mount, lens protection, storage, and power together, use our best budget 360 camera for motovlogging guide to compare the total setup cost instead of the camera price alone.

Keep the camera-to-base connection compact, but verify the exact mount interface and load rating before riding.
Choose the Right Helmet Mount Type
| Mount type | Main advantage | Trade-off | Check before use |
|---|---|---|---|
| Helmet-specific adhesive base | Low profile and simple once cured | Semi-permanent; adhesive compatibility matters | Helmet approval, surface prep, full cure time, curved-surface contact |
| Strap or model-specific chin mount | Reversible and often gives a natural POV | Fit varies by helmet; may affect vents or visor clearance | Tension, shell contact points, visor travel, chin vent, field of view |
| Quick-release camera interface | Makes camera removal and position changes faster | It is an interface, not the helmet attachment itself | Positive lock, compatible base, load rating, no accidental release |
| Threaded adapter or extension | Adds positioning flexibility | More leverage, wind load, and vibration | Shortest practical arm, tight joints, clearance, manufacturer limits |
Where to Mount a 360 Camera on Your Helmet
There is no best position for every rider. Start with the view you want, then eliminate any position that conflicts with the helmet instructions, blocks airflow or vision, or creates uncomfortable wind load.
Practical starting point: Try the chin area first if your helmet maker and mount allow it and the setup clears the vent and visor. Choose the top for a more scenic perspective. Use the side when helmet shape or airflow makes the other positions impractical.
| Position | View and effect | Best use | Watch-outs |
|---|---|---|---|
| Chin area | Natural eye-level POV; road and cockpit feel connected | Tutorials, route stories, first-person motovlogs | Chin vent, visor release, curved surface, microphone airflow |
| Helmet top | Higher and more open view; follows head movement | Scenery and immersive first-person footage | More wind leverage, overhead clearance, taller silhouette |
| Helmet side | Lower profile and close to the rider's eye line | Action POV when chin mounting is not suitable | Uneven weight, shoulder clearance, side wind, visible helmet edge |
How to Mount a 360 Camera on a Motorcycle Helmet
- Read both instruction sets. Confirm that the helmet manufacturer permits accessories in the chosen area and that the mount is designed for your helmet type. Do not continue if either set of instructions rules out the installation.
- Choose the position and dry-fit it. Hold the complete setup in place before exposing adhesive or tightening straps. Check sightline, visor travel, vents, strap function, shoulder clearance, and normal head movement.
- Prepare the surface exactly as instructed. Use only the cleaner and method approved for the helmet finish and mount adhesive. Let the area dry fully and keep skin oils, dust, polish, and wax away from the bonding surface.
- Install the helmet base. Seat the full adhesive pad or mounting surface against the helmet without gaps. Apply the specified pressure and follow the mount maker's full cure time. Do not substitute a generic 24-hour rule if the instructions say otherwise.
- Attach the camera with the shortest practical setup. Lock the quick-release or adapter completely. Longer arms create more leverage and can increase wind load and vibration, so add extension only when the shot requires it and the mount supports it.
- Set the camera orientation. Keep both lenses unobstructed and position the helmet away from the most visible stitching zones. Because helmet shapes vary, record a short clip and inspect the full 360 image instead of relying on one fixed angle.
- Run a stationary test. Move your head through its normal range, open and close the visor, operate vents, and check that the mount does not touch your shoulder or enter your sightline. Confirm the camera is fully locked.
- Complete a short low-speed test and reinspect. Use a controlled environment. Review vibration, wind movement, stitching, and visible helmet edges. Stop and fix any looseness before a normal ride, then inspect the mount before every use.

A chin-area setup can create a natural POV, but it must preserve visor and vent function.
How to Improve Helmet-Mounted 360 Footage
- Clean both lenses before the ride and check for fingerprints, dust, water spots, and protector reflections.
- Keep the mount compact. A shorter setup generally reduces leverage and makes vibration easier to control.
- Record a ten-second test, rotate your head slowly, and inspect the whole frame for helmet intrusion and stitching artifacts.
- Use stabilization and horizon leveling when available, but treat them as support for a secure mount rather than a fix for loose hardware.
- For low light, test the actual route. Streetlights, tunnels, and oncoming headlights can produce very different results from a static parking-lot test.
- Plan wind audio separately. If live speech is unclear, record clean narration after the ride.
For a complete first-ride shot list, chapter-based recording plan, audio approach, and editing workflow, continue with Motovlogging for Beginners: Plan, Film, and Edit Your First Ride.

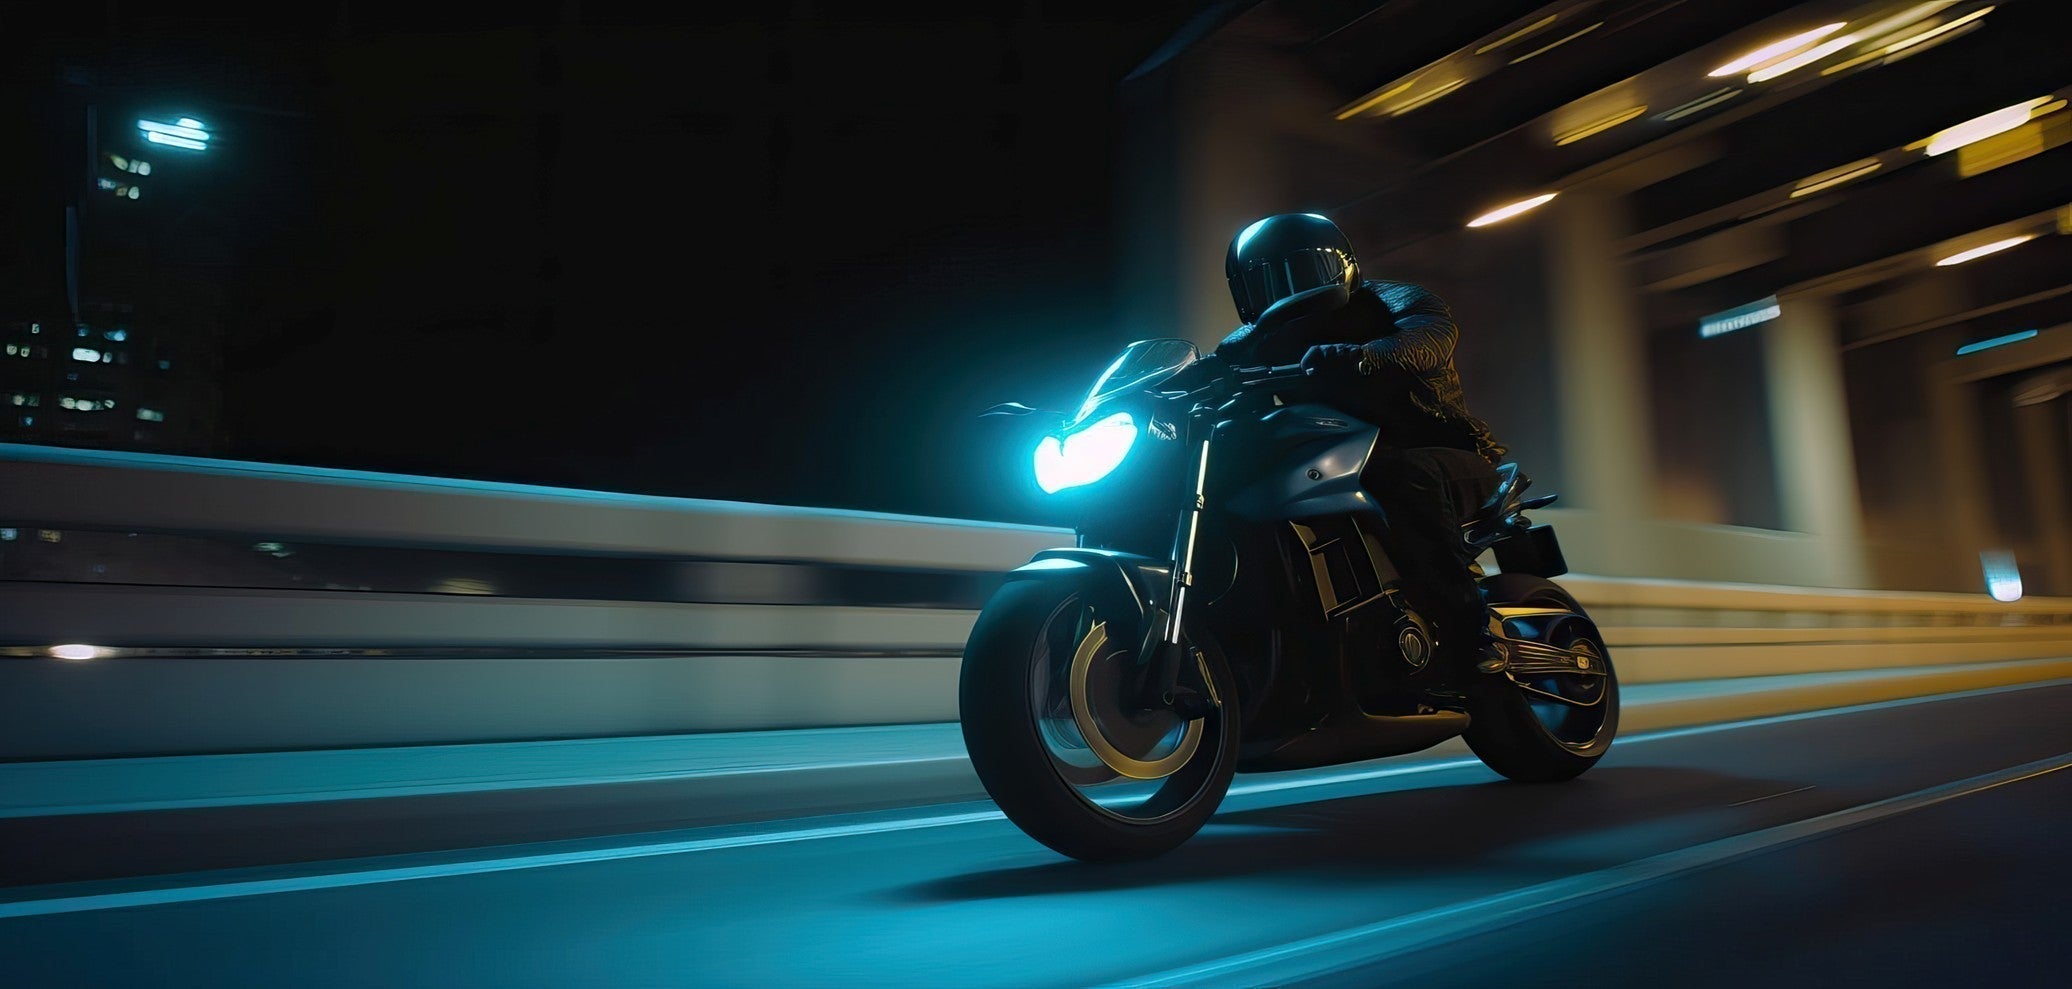
A short test ride helps reveal vibration, wind load, helmet intrusion, and stitching issues before a full shoot.
Why Xtra 360 Fits This Mounting Workflow
Xtra 360 combines a 1/4-inch thread with a magnetic quick-release design, giving riders several ways to connect the camera to compatible action-camera hardware. Its 8K 360 capture supports reframing after the ride, 360 Lock helps keep the horizon level, and 105GB of built-in storage provides recording capacity even before adding a memory card.
Compatibility still needs to be checked as a complete system: helmet, helmet base, adapter, quick-release, and camera. A compatible thread or connector does not by itself confirm that a mount is safe for a particular helmet or riding condition.
Review the current specifications and package on the Xtra 360 product page.
Frequently Asked Questions
Is a chin mount or top mount better for a 360 camera?
A chin-area mount usually creates a more natural eye-level motovlog view, while a top mount gives a higher, more scenic perspective. The better choice is the one your helmet and mount instructions allow and that preserves vision, visor movement, ventilation, fit, and comfort.
Is it legal to mount a camera on a motorcycle helmet?
Rules vary by country, state, province, and riding context, and certification or event rules may add separate restrictions. Check current local requirements and the helmet manufacturer's instructions before installing a mount. This guide is not legal advice.
Can an adhesive camera mount damage a motorcycle helmet?
It can, depending on the shell material, finish, adhesive, cleaner, and removal method. Do not assume a generic adhesive, alcohol wipe, solvent, or heat-removal method is safe. Use only methods approved by the helmet and mount manufacturers.
How do I keep a helmet camera from vibrating or coming loose?
Use a helmet-specific base, maximize full-surface contact, follow the specified cure time, keep the camera close to the shell, lock every connector, and perform stationary and low-speed tests. Reinspect the setup before every ride and stop using it if anything shifts.
What is the best angle for a helmet-mounted 360 camera?
There is no single angle for every helmet. Keep both lenses clear, reduce how much of the helmet enters the frame, and avoid placing important subjects on obvious stitch seams. Record a short test and adjust after reviewing the full 360 image.
Do I need a special mount for Xtra 360?
You need a helmet attachment and camera interface that are compatible with each other and approved for the intended use. Xtra 360 provides a 1/4-inch thread and magnetic quick-release design, but confirm the exact base, adapter, load rating, helmet guidance, and mount instructions before riding.
The Bottom Line
A secure helmet-mounted 360 camera setup starts with compatibility, not camera angle. Confirm that the helmet and mount instructions allow the installation, choose a position that keeps the helmet fully functional, follow the exact surface-prep and cure steps, and test the full setup before a normal ride. Once those basics are right, 360 capture gives you the freedom to reframe the road, rider, and scenery after filming.
Ready to review the camera used in this guide? Explore Xtra 360.

Leave a comment
This site is protected by hCaptcha and the hCaptcha Privacy Policy and Terms of Service apply.