

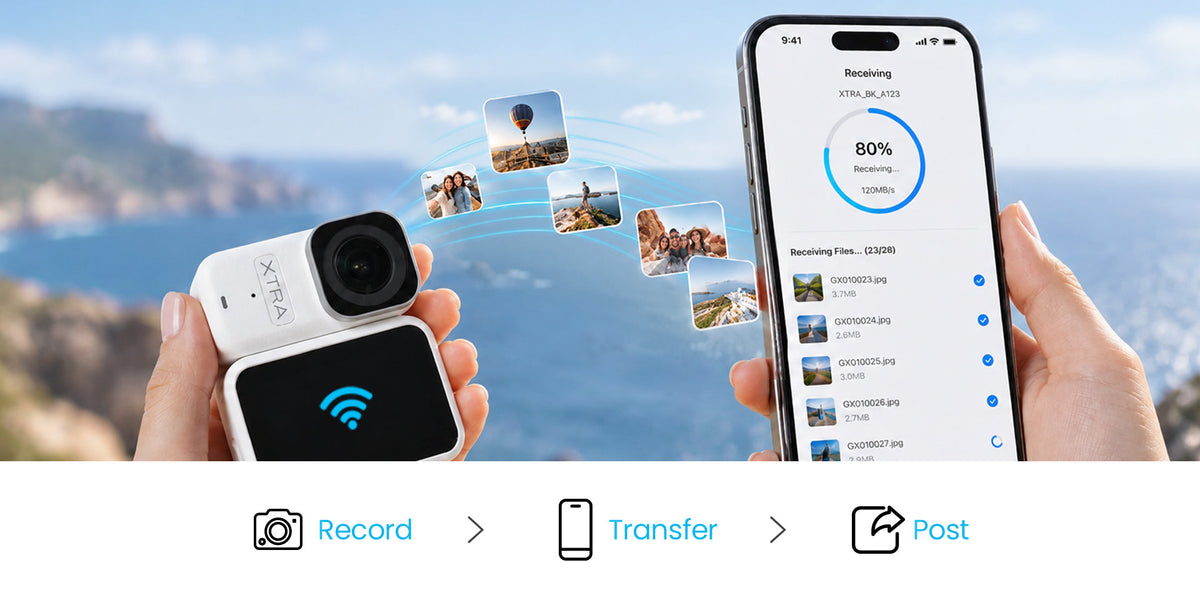
A wearable POV camera can record a clear image and still miss the shot you wanted. The frame may bounce with your shirt, point toward the ground, disappear behind a jacket collar, or lose the subject as soon as you move.
A useful setup starts with three things: a secure attachment, a suitable camera angle, and a short test in your actual filming posture.
Use the checks below to identify four common problems before recording a longer activity.
Start With One Repeatable Test
Choose a short route or task you can repeat, such as walking across a room or preparing something on a counter.
Use the same recording mode for each comparison, and change one thing at a time. If you adjust the mount, camera angle, and stabilization together, it becomes harder to tell which change helped.
Review a recording rather than relying only on how the camera looks when attached.
Quick Wearable POV Troubleshooting Guide
| What you see | What to check first | First adjustment to try |
|---|---|---|
| Repeated bouncing or wobbling | Clothing movement and mount security | Move to a firmer attachment position |
| A tilted horizon or mostly ground | Camera rotation and upward/downward angle | Correct the physical alignment |
| A partly hidden image | Collars, straps, hair, and hands | Clear the lens through the full movement |
| The subject leaving the frame | Camera position and framing margin | Reposition the camera around the activity |
1. Fix Shaky Footage by Checking the Attachment
Start with the parts that can move independently: the camera, its mount, and the material underneath.
Loose fabric can swing with every step. A soft hat brim may flex, while an adjustable joint may shift if it has not been secured correctly.
Check each connection, then record the same short movement again. Use a compatible mount appropriate for the activity, and follow its attachment instructions.
XTRA ATTO supports magnetic mounting options for different viewpoints. Our in-box accessories guide explains the included mounting choices.
Once the attachment is stable, compare the available stabilization settings. ATTO offers MotionMaster stabilization to reduce motion shake and TiltGuard horizon leveling to help manage a tilted horizon.
Judge the result during the movement you actually plan to film. A stationary preview will not reveal how a mount behaves while walking.
2. Fix Tilted Shots and Ground-Heavy Framing Separately
A sideways horizon and a camera pointing too far down need different adjustments.
For a sideways tilt, check whether the camera sits level in the mount. Record a scene with a clear horizontal reference, then review the result.
For footage showing mostly shoes or pavement, adjust the upward/downward angle using the mount’s available adjustment. Horizon correction does not choose the subject or aim the lens upward for you.
Check the angle in your normal posture. Standing straight to set the camera and then leaning over a counter can produce a different composition.
For walking footage, decide how much of the path and surrounding scene you want visible before making the next adjustment.
3. Fix Blocked Shots Through the Full Range of Movement
An unobstructed lens while standing still may become covered when you turn or reach.
Put on the clothing and accessories you will actually use. Then perform the action: raise your arms, bend forward, turn your head, or reach for an object.
Look for jacket edges, backpack straps, hair, and hands entering the image. Reposition the camera or the obstruction, then repeat the test.
On ATTO, the Vision Dock provides preview and control functions. Combine a framing check with recorded playback to catch obstructions that appear only during movement.
4. Keep the Subject Inside the Frame
A chest-mounted camera moves with your torso. A hat-mounted camera follows your head. Neither automatically keeps a moving pet, your hands, or another subject centered.
Choose the position around the activity. A higher view may suit a walking route; a lower, angled view may better include a tabletop task.
Leave some space around the important action. Check the framing in the recording mode and final aspect ratio you intend to use, since changing modes or cropping can alter what remains visible.
If a moving viewpoint keeps losing a task that happens in one place, consider a fixed camera position.
Our guide to chest, hat, and fixed POV angles can help you choose.
Run a 30-Second Preflight Recording
Before the full shoot, capture a short test:
-
First five seconds: Hold your normal filming posture.
-
Next ten seconds: Walk or perform the main activity.
-
Next ten seconds: Include typical turns, bends, or reaches.
-
Final five seconds: Return to the starting posture.
Replay the clip and check for bouncing, horizon tilt, obstructions, and missing subjects. If you plan a vertical edit, inspect that crop too.
Save the useful setup details: mount position, camera angle, clothing, and recording mode. Recheck them when you change jackets, hats, or activities.
Build a Setup You Can Repeat
A few seconds of testing can save a recording full of avoidable framing problems. Start with the physical setup, review the moving image, and adjust one variable at a time.
For XTRA ATTO, combine a compatible mounting accessory with a framing check and the recording settings that suit your scene.
Explore XTRA ATTO and its mounting options for your next hands-free video.

Leave a comment
This site is protected by hCaptcha and the hCaptcha Privacy Policy and Terms of Service apply.