
A vlogging camera for beginners should help you finish your first videos, not overwhelm you with equipment. For everyday handheld and talking-to-camera content, start with three paths: your phone with suitable support, a pocket gimbal camera, or an interchangeable-lens mirrorless system. Your filming style, complete budget and willingness to learn matter more than a single specification.
Quick answer: Use your existing phone if you are still discovering what to film. Consider a pocket camera with built-in stabilization for walking stories. Choose mirrorless when lenses and a more deliberate setup are part of your plans. A vlogging camera for beginners is a workflow choice before it is a shopping list.
By XTRA MKT. Last updated September 29, 2026. How we picked: We compared manufacturer-published specifications, U.S. store listings and practical setup requirements, not hands-on test scores. XTRA MUSE is our own camera; this guide explains where it fits and when another setup may make more sense. Prices and stock below are dated snapshots.

What actually matters in a beginner vlogging camera
Use these seven checks before comparing bundles. A spec sheet describes capabilities; a short recording trial reveals whether the workflow suits you. For a vlogging camera for beginners, being able to frame, record, hear and transfer a clip consistently is more useful than an advanced feature you cannot yet use.
- Stabilization: A three-axis mechanical gimbal physically adjusts camera orientation. Electronic stabilization processes image data and can narrow the view. Neither removes every footstep or fixes subject motion blur. Compare results in the mode and lighting you will use.
- Sensor and lens: Sensor size can affect low-light performance, but lens aperture, exposure and processing also matter. A 1-inch label does not mean two cameras produce identical footage. Look at indoor faces and bright windows, not resolution alone.
- Focus and tracking: Keeping a subject sharp and keeping it centered are different tasks. Test approaching the camera, turning sideways and holding up an object. Check whether the relevant focus or tracking feature works in your preferred mode.
- Audio connections: Record speech at arm's length before shopping for microphones. Verify the exact microphone, adapter and firmware combination. A USB-C port alone does not establish microphone support, and wireless connections are not universally interchangeable.
- Self-framing screen: A rotating, tilting or front-facing screen can help solo filming. Check whether your face remains visible when a microphone or cable is connected, and whether framing still works for vertical footage.
- Carry weight and startup: Count the camera, lens, grip and accessories together. Practice taking the setup out, starting a clip and putting it away. A camera you regularly leave at home cannot help you finish videos.
- Storage and power: Check supported memory cards, file transfer and charging. Battery claims use specific test conditions. Budget for a full outing and confirm that your phone or computer can edit a sample recording.
| Your first test | What to look for |
|---|---|
| Walk and turn | Usable selfie framing, manageable bounce and no distracting edge distortion. |
| Speak indoors and outside | Intelligible words at your normal recording distance; listen for wind and handling noise. |
| Transfer and edit one clip | A repeatable process on the device you already own, without unexpected storage or format problems. |
The three paths: phone + gimbal, pocket gimbal camera, or mirrorless
These are practical starting points for a vlogging camera for beginners, not a quality ranking. A phone uses familiar apps; a pocket gimbal camera separates filming from your phone; mirrorless adds lens choices. The right answer changes when you move from a desk tutorial to a walking diary.
| Decision | Phone + gimbal | Pocket gimbal camera | Mirrorless + lens |
|---|---|---|---|
| Starting cost | Existing phone plus compatible accessories; no new phone assumed. | MUSE example: $349 before extras and checkout charges. | Price the body and lens together; $600+ is a planning allowance, not a minimum market price. |
| Learning/setup | Familiar camera, plus mounting and gimbal controls. | Learn a new camera, recording modes and transfer process. | Learn lens choice, exposure, focus and handling. |
| Stabilization | Motorized phone support; phone modes vary. | Integrated mechanical stabilization. | Lens, sensor or electronic support depends on the model; not always included. |
| Image flexibility | Depends on your phone, lens choice and app. | Integrated lens/sensor; limited lens-changing options. | Interchangeable lenses offer more control; results still depend on setup. |
| Natural fit | Trying vlogging without replacing a suitable phone. | Compact handheld walks and everyday stories. | Planned shoots, photography and learning lenses. |
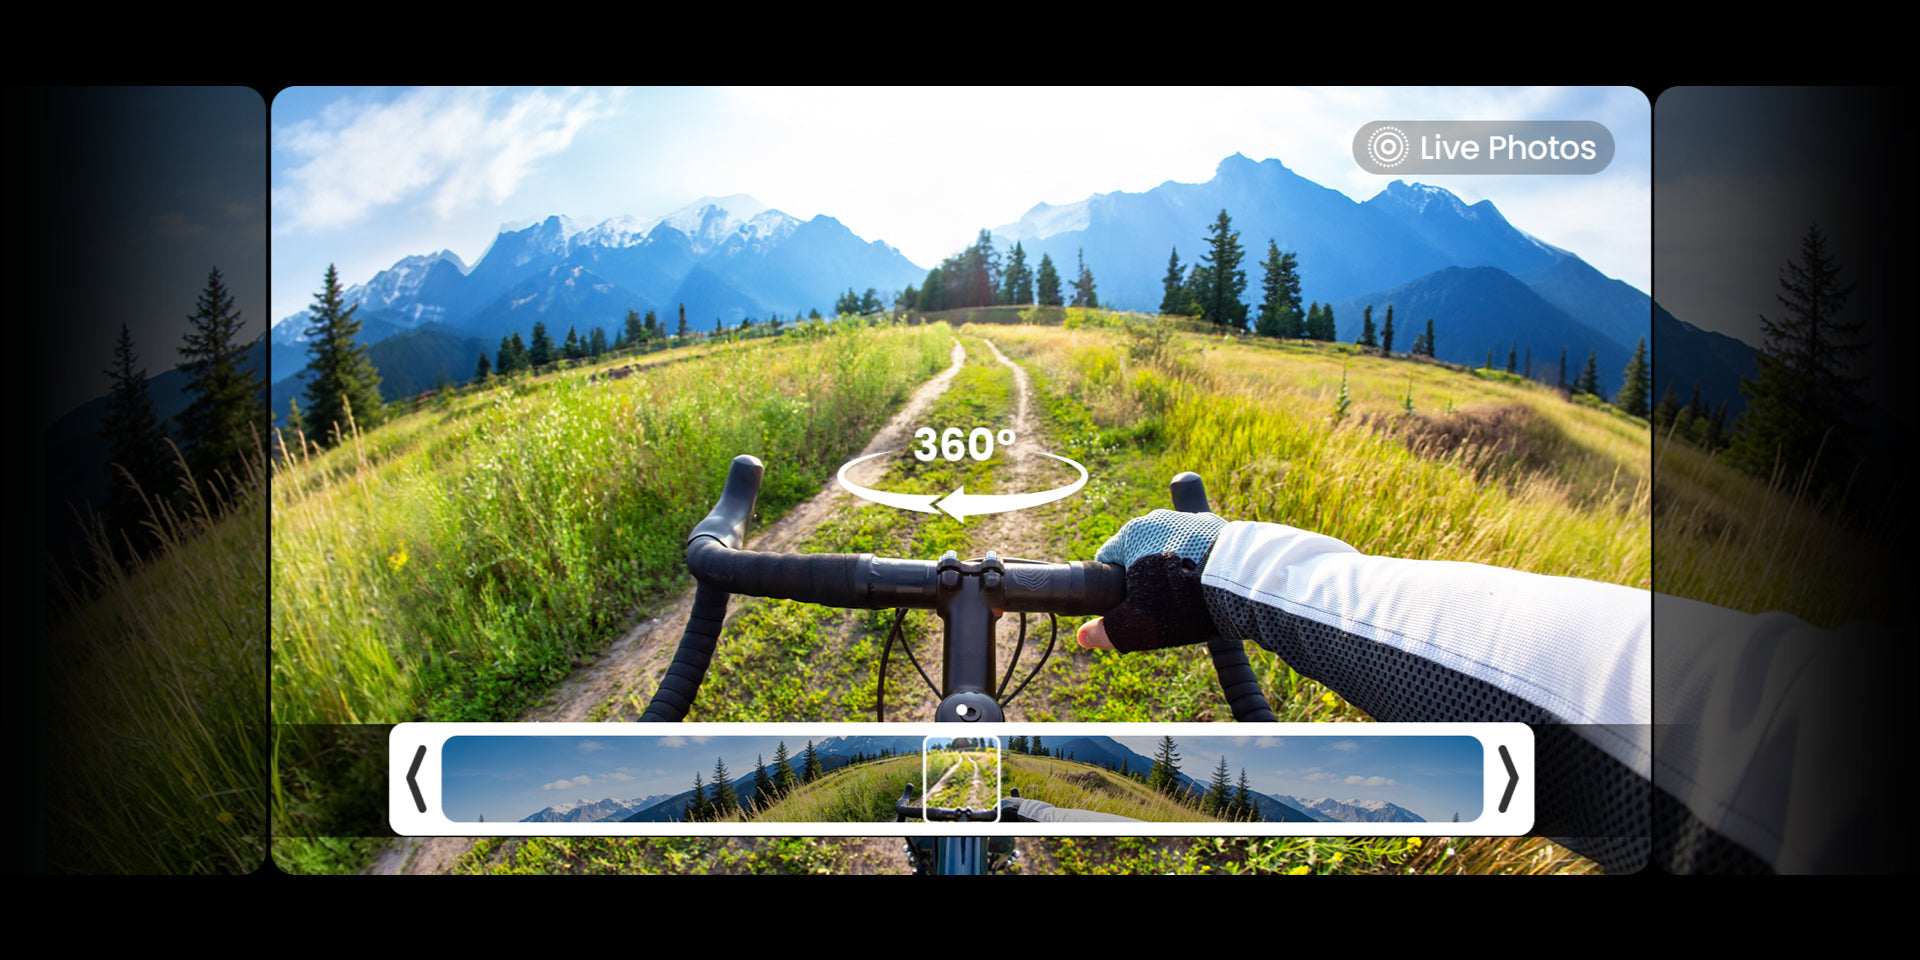
For seated videos, a supported phone and suitable lighting may already solve the problem. For walking, check stabilization and how wide the selfie view remains. Sony's stabilization guidance illustrates that some active modes narrow the angle of view; do not assume every system behaves alike.
Mirrorless is not automatically the easiest option or better value for every beginner. For example, Canon's EOS R100 specifications distinguish its Full HD autofocus from contrast-based focusing in 4K. Read mode-specific limitations before choosing by sensor size. For rain, mounted cycling or wet activities, also compare appropriately rated action cameras. MUSE is not waterproof.
How much should a beginner spend?
Set a limit for the working setup, not just the body. Include a compatible card, any microphone connection, support, protective storage and applicable checkout charges. The best affordable camera for vlogging is the one that addresses your actual problem without pushing essential accessories outside your budget.
Under $150: improve the phone you already own
This is an accessory budget, not a promise of a new phone or a complete camera kit. Start at $0 by recording a short test. Then address one weakness: stationary support, speech clarity or walking stability. Confirm phone dimensions, case fit and app compatibility before buying a gimbal. You may not need one for desk videos.
$300-400: consider an integrated handheld camera
At the checked prices, MUSE camera-only is $349 and the Mini Tripod Combo is $359. The latter leaves $41 below a $400 ceiling before extras and checkout charges. The $369 MicroSD Combo also fits that ceiling before extras and checkout charges. All three contain the same camera; compare accessories, not imagined differences in image quality.
$600+: plan a lens-based system carefully
Use $600 or more as a planning envelope when exploring mirrorless kits, not a claim that cheaper kits do not exist. Check whether the listing includes a useful lens and the stabilization you need. Include carrying weight and editing demands in the decision. A larger budget should buy a specific benefit, not a longer learning curve by default.
The best vlogging camera for beginners under $500: three options to compare
There is no universal winner. This shortlist compares two dedicated cameras and one phone-based alternative using published information, not hands-on testing. Prices exclude extra equipment and checkout charges; availability matters as much as the headline number.
| Option / checked price | Why consider it? | Important limitation |
|---|---|---|
|
XTRA MUSE $349 camera-only |
1-inch CMOS, built-in three-axis gimbal and touchscreen for compact handheld filming. | Not waterproof. Storage and your preferred audio setup need checking separately. |
|
DJI Osmo Pocket 3 $439 standard option |
1-inch CMOS, three-axis gimbal and rotating screen. Compare its tracking and audio ecosystem. | DJI's U.S. listing showed out of stock when checked. The $549 Creator Combo is not under $500. |
| Your existing compatible phone + DJI Osmo Mobile 7 $75 for the gimbal only |
Motorized stabilization while keeping your current phone and recording workflow. | Not a standalone camera. Phone cost is excluded; DJI's U.S. gimbal listing showed out of stock. |
Prices and manufacturer-store availability checked September 29, 2026. Retailer prices and stock may differ. Recheck the linked listing before buying.
MUSE leaves more room below this budget for accessories, while Pocket 3 may appeal if its documented connections fit equipment you own. Matching sensor sizes does not establish matching image quality. Both advertise 4K/120fps slow motion, not a requirement for normal vlogs. Read how MUSE compares with a DJI Pocket 3 before deciding.
If your phone already delivers usable clips, the phone route may be the best affordable camera for vlogging in practice. Finish a video before replacing it. For a dedicated kit, compare the actual items in the box rather than counting accessories you may never use.
What you can skip in your first six months
These are optional purchases, not a ban. Add them when you can explain the shot or problem they solve.
- ND filters: Useful for deliberate exposure and motion-blur control in bright conditions, but not essential to learning framing and sound.
- A second lens: Learn what your first lens cannot frame before adding cost and carrying weight.
- 4K/120fps as your default: Slow motion serves specific scenes. Start with a recording mode your storage and editor handle comfortably.
- An external monitor: First learn the built-in screen. Add monitoring when framing or a more complex setup genuinely requires it.
- A full microphone collection: One compatible option placed well is a more useful starting point than several untested accessories.
Instead, make three short videos using the same setup. Review one weak point each time: framing, speech, lighting or editing. Your next purchase should answer that observation. Keeping your first vlogging camera simple leaves more attention for the story.
Vlogging camera for beginners: frequently asked questions
What is the best camera for a beginner vlogger?
Choose for how you shoot. A phone may be enough to learn; an integrated stabilized camera suits handheld walks; a mirrorless system gives you lens choices. No category guarantees better results or value. Match the setup to your recording conditions and complete budget before comparing specifications.
What camera do beginner YouTubers use?
Common starting options include phones, compact cameras and entry-level mirrorless kits. There is no single required setup. Upgrade when you can identify a limitation, such as difficult walking footage, unclear speech or a recording workflow that interrupts filming, rather than because another creator owns more equipment.
Can you start vlogging with just a phone?
Yes. A suitable phone can record, edit and publish your first videos. Check its actual modes rather than assuming every phone shoots 4K. Storage, battery, framing and outdoor sound may become constraints. A short practice video will show which limitation, if any, needs an accessory or a different camera.
How much should a beginner spend on a vlogging camera?
Try your existing phone first. Under $150 can be an accessory budget; $300-400 can cover some integrated cameras; $600+ can be a useful allowance for a mirrorless setup. These are planning tiers, not universal minimum prices. Include storage, required accessories and checkout charges.
Is a pocket gimbal camera or a mirrorless camera better for beginners?
Consider a pocket gimbal camera when compact walking footage and built-in mechanical stabilization matter most. Consider mirrorless when changing lenses and learning a broader camera system are priorities. Compare the particular models: stabilization, autofocus, screen design and recording limits vary, even within the same category.
Do you need 4K to start a YouTube channel?
No. You can publish 1080p footage. Higher resolution can provide room to crop or reframe, but may increase storage and editing demands. Start with a mode you can record and edit reliably, then upgrade settings when you know what the change will improve.
How do you get smooth walking-and-talking footage?
Combine an appropriate stabilization mode with a comfortable grip, gentle steps and controlled turns. Review a short clip before filming a full sequence. Mechanical and electronic approaches can both help; neither removes all movement. There is no universal ranking of which technique matters most in every scene.
What audio setup should a beginner start with?
First test the built-in microphone at your usual speaking distance. If needed, choose a compatible external microphone and place it close to the speaker. Confirm adapters and connection support. Use wind protection suited to outdoor conditions; a basic foam cover may not handle stronger wind.
Is the XTRA MUSE a good vlogging camera for beginners?
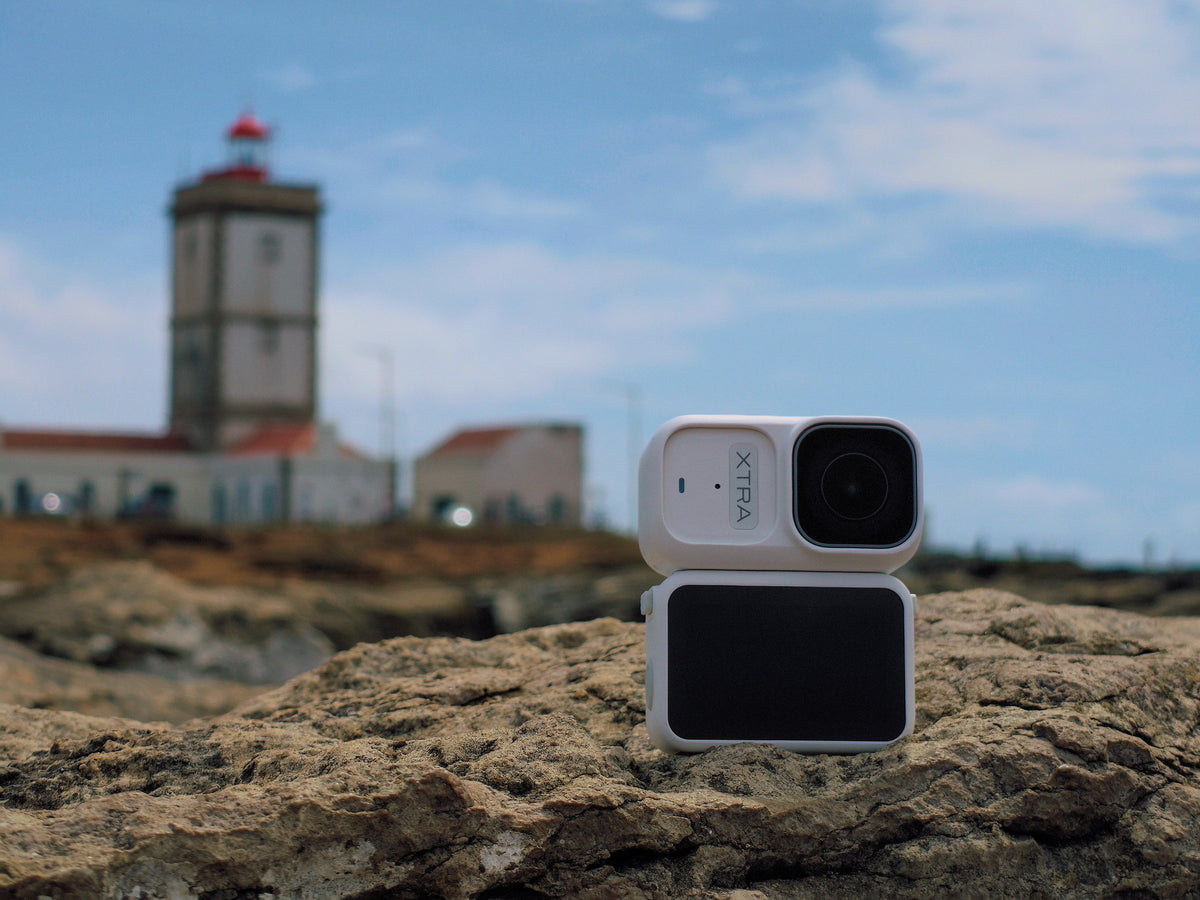
It is worth considering for handheld, dry-weather filming when you want stabilization built in. MUSE combines a 1-inch CMOS sensor with a three-axis mechanical gimbal and starts at $349 at the checked price. See MUSE kits and confirm storage and microphone compatibility for your setup.
Choose one setup, then finish a video
Choose the camera that makes your next few videos easier. Compare MUSE pocket gimbal kits, see all vlogging cameras, or read our hiking camera guide if you mostly film on the move. Practice recording and transferring a clip before taking new equipment on a trip.
Sources and disclosure: This is an XTRA Store guide, not an independent product test. MUSE is our own product. Technical checks use official MUSE specifications, the manual and microphone compatibility chart, and the manufacturer pages linked above. Our scenario recommendations are editorial judgments, not measured performance scores.

Leave a comment
This site is protected by hCaptcha and the hCaptcha Privacy Policy and Terms of Service apply.